
Installing LineageOS on a cheap midrange phone (part 1 - bootloader unlock)
(Yes, this is another part one - writing up this stuff from my notes takes time, and sometimes you need to just finally ship…)
I needed a new phone, my Samsung had a cracked screen for a while, which I could tolerate, and much worse the micro USB charge connector was failing. Micro USB always seems to be so poorly implemented on so many phones. Also, the Samsung software seemed to get crappier every time there was an update that “improved functionality”
So I did a bit of research, and decided to buy a new phone that I could replace the manufacturer Android with LineageOS, an open source Android distribution based on the Android Open Source Project (AOSP)
My use case is I prefer to use my phone mostly as a phone, many mobile tasks like video calls or docs I prefer to use a tablet for instead. I don’t install games, or random apps, or Facebook or Twitter on my phone. Essentially all I use are:
- calls, SMS, calculator, alarm clock, calendar
- email (not with the Gmail app)
- DuckDuckGo browser
- Google maps
- VLC (music, podcasts)
- The CISSP ISC(2) official practice exams
Benefits:
- security (pro) - no vendor bloatware
- performance - no vendor bloatware that cant be installed, only disabled
- private - no vendor bloatware and I can control which google-ware I can install
Cons:
- security (risk) - no vendor updates of the base image - so I need to keep on top of that myself!
- need to find a late-enough model phone with decent specs that I can buy here in Australia that is currently officially supported by LineageOS
Some people run LineageOS native, or you can instead install OpenGapps, a packaging of the google app suite (e.g. Play Store) in a minimal configuration so you can control which google apps you use (and get to avoid, or install and them remove using Play, not normally possible). I chose to build my own Gapps and install it, because there is no signing key verification that can be done on the phone when installed, so for the exercise I should at least be able to trust myself…
Note: vendor bloatware == the dozens of Samsung or Xiaomi or Lenovo or whatever apps that come with the phone, that often differ enough from the original Android or Google version enough to be annoying, through to wanting to throw the phone through a window. Case in point: Samsung notes - I cant easily export them or sync them with anything!
Phone Specs
In the end I settled on a Xiaomi Redmi Note 7. It has sufficient cores and RAM and 64GB storage and comes with a spin-off Android called MIUI, which I never actually bothered to try out because I intentionally installed LineageOS before I even started using as a phone. I purchased this from Kogan for $239 - I would have preferred to walk into a shop in Adelaide but everywhere only had slightly newer model phones that were not yet on the officially supported list for LineageOS. Now I could have attempted to add my own support, I’m sure it would be an interesting project but I have too many interesting projects to consume my time as it is and I really just wanted a phone I could use immediately. I probably would have preferred a Redmi Note 7 Pro, which is supported also by /e/os a redistribution of LineageOS with a more privacy focus, but I couldn’t find one to easily buy.
A phone with that many cores and RAM really should perform. But I’ve seen that and better specs die, because of the bloatware and also the impact of apps like Facebook (which I dont use most of the time normally, and certainly not on my phone). As a spoiler, the new phone, with LineageOS and a minimal OpenGapps, absolutely flies! No lag, much reduced background Internet use. Win!
Xiaomi M1901F7G specs:
- 64GB flash
- 4GB RAM
- USB-C (so in theory, mechanically more robust for charging)
- supported by LineageOS version 17 (equivalent to Android 9)
Some interesting observations:
- Xiaomi actually have direct downloads for offical ROM images, which is quite good of them
- this phone has an accessible bootloader (after some online fun and games)
- the one from Kogan appears to be an “international” version, it came with an English + Indonesian quick start guide
Unlocking the bootloader / OPSEC practice
To unlock the bootloader you have to sign up to a Mi account. This is a tad annoying, because it only lets you complete the process with a SIM in the phone. Rather than using my main mobile SIM I had a spare from a tablet that I used for the entire process, thereby Xiaomi never discovered my real phone. Not that it really matters, but it was an interesting exercise in digital hygiene practice.
Steps:
- insert the spare SIM
- boot the phone the first time. Note you need to hold power button down for quite a long time (5+ seconds) to get power on
- accept the T&C yada yada yada
- wait for update check
- create a new gmail account when prompted (one can’t have too many…), this is useful for registering with Mi
- create a Mi Cloud account - we need this to unlock the bootloader - linked to the new gmail account
- enable USB debugging - tap 7 times on MIUI version in Settings, About then enable USB debugging in Developer settings
From this point, we need a laptop, because Mi Cloud wants to use a program to communicate with the phone. As an exercise in practicing distrust, I used a Windows VM in VirtualBox for this, with USB passthrough enabled, firewalled can connected through to the Internet via a VPN.
TIP if you need a Windows 10 VM in a hurry, Microsoft provide free Windows 10 OVA that work for 90 days after first booted, for Microsoft Edge development and testing - https://developer.microsoft.com/en-us/microsoft-edge/tools/vms/
From the phone
- settings, developer options, allow OEM locking
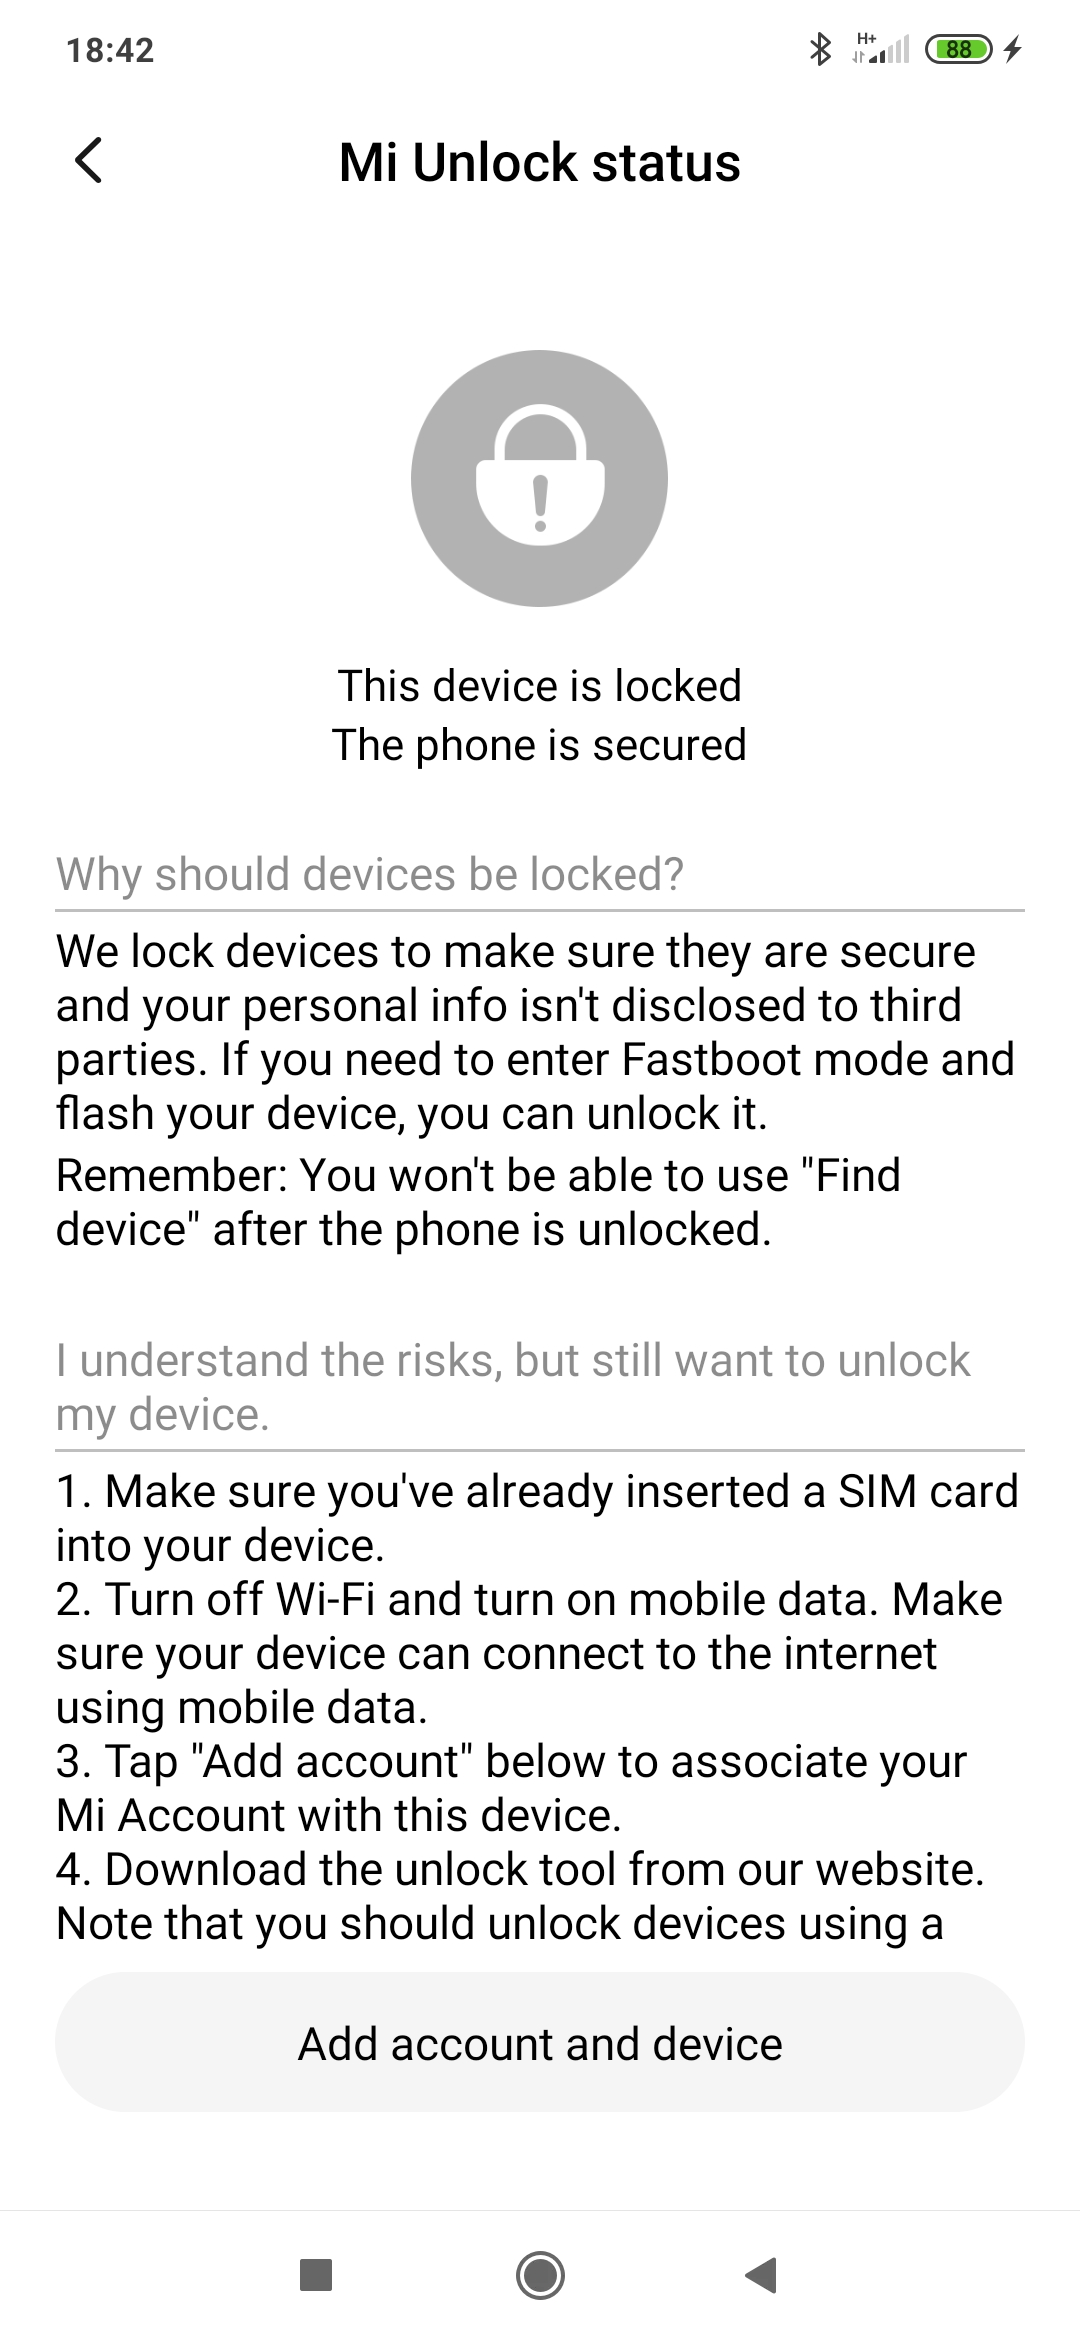
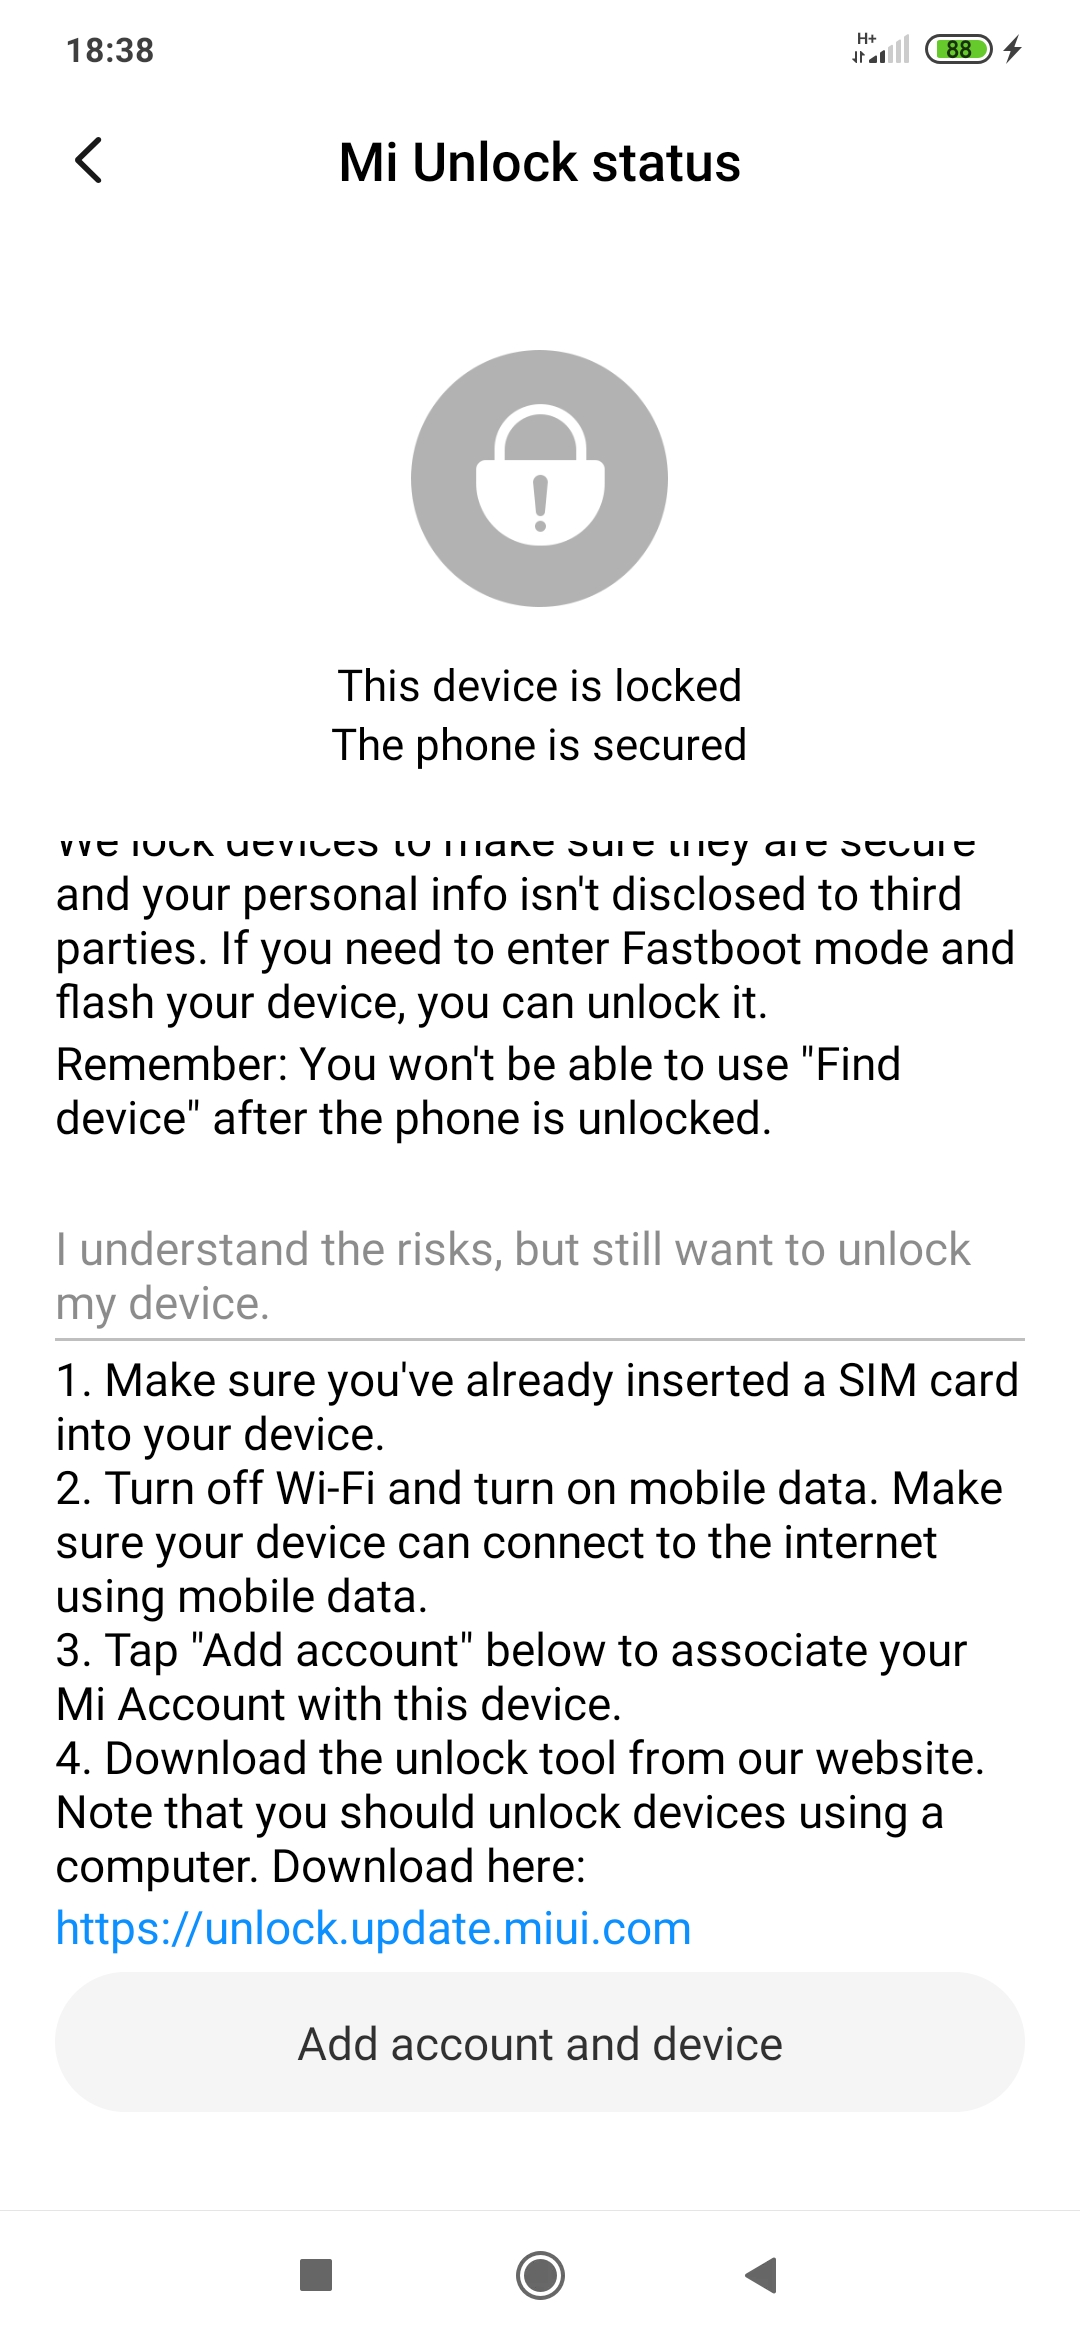
- settings, developer options, check MI Unlock Status
- this asks for access to IMEI, IMSI, Mi Account, etc.
Screens:

From the PC ( Windows 10 virtual machine)
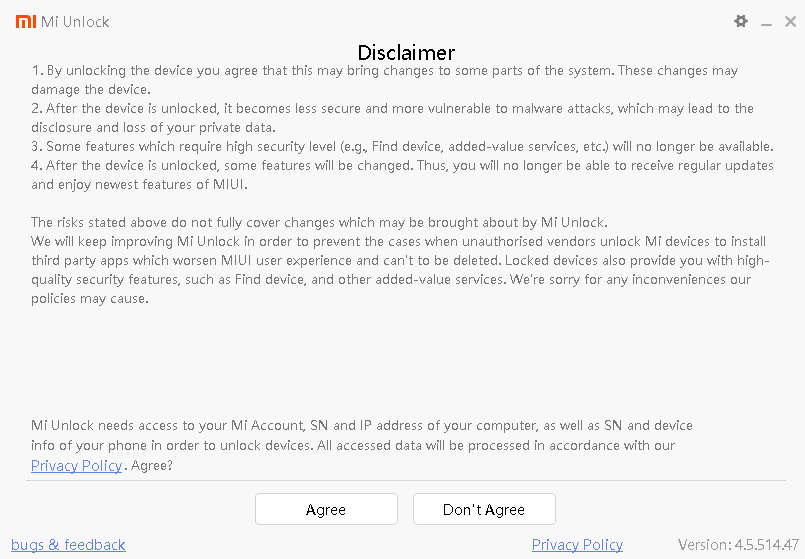
- Download the Mi Ulock software from https://en.miui.com/unlock/download_en.html
- Run from VM hard drive (the O/S security settings won’t let it run from the VirtualBox shared drive)
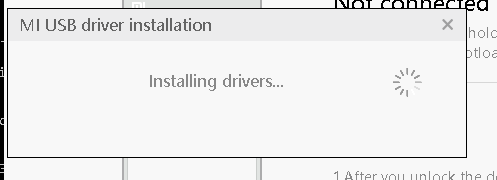
- This popped up a big disclaimer, then a wizard
- From settings, press Check Driver to ensure this is up to date
- Now plug in the phone, and reboot into fastboot by holding down settings and the power button together
- ensure VirtualBox USB passthrough is enabled, and with the phone plugged in select the “Google Android 0100” device in the VirtualBox USB settings
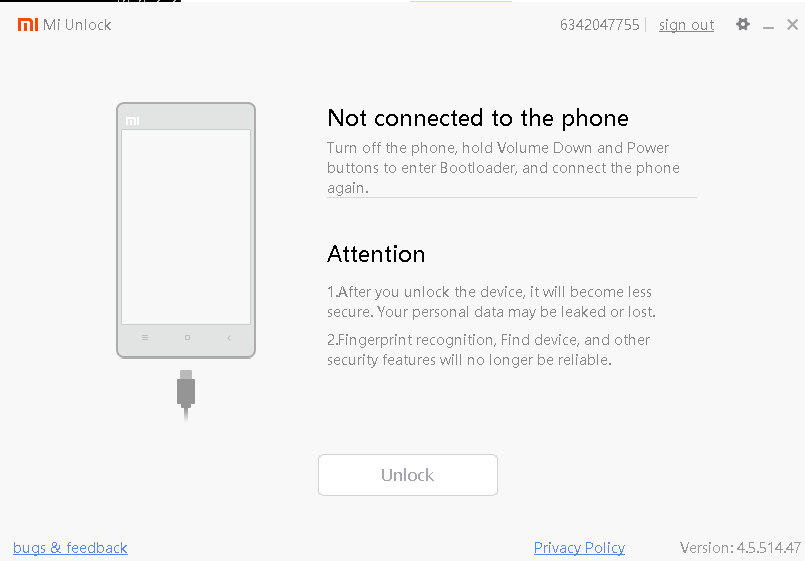
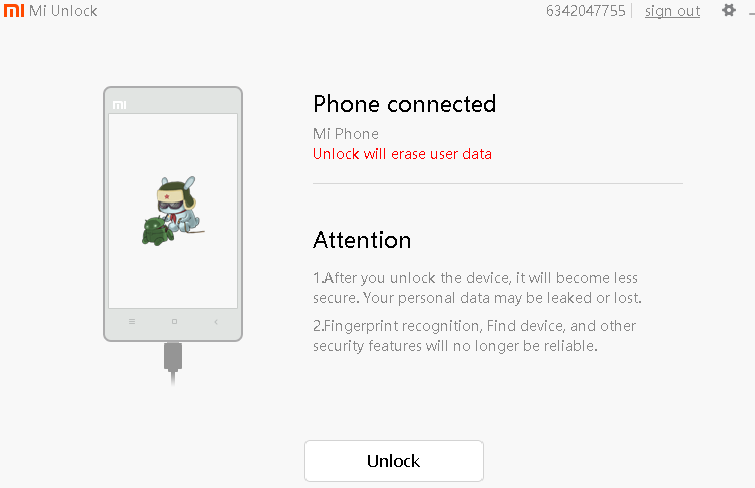
- The Windows app will detect this
- After this, you are presented with a screen with an Unlock button and instructions

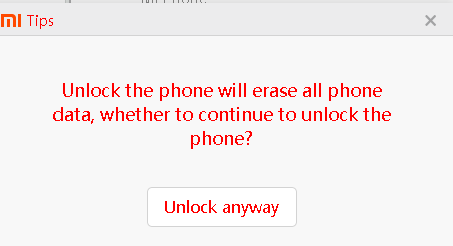
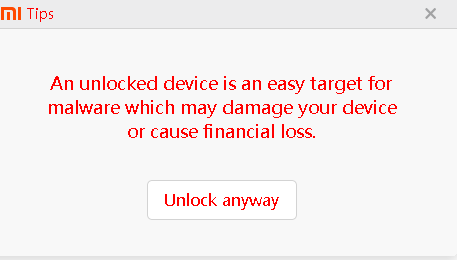
- After pressing Unlock, there is a confirmation box, followed by a big scary security warning.
- It says “An unlocked device is an easy target for malware which may damage your device or cause financial loss.”
- Of course, this is correct, but this is a risk I will accept and instead take suitable mitigations, including only installing a minimal set of apps, updating regularly, and also making sure I regularly update the base operating system. In practice if I don’t root the phone, an unlocked boot loader is probably (I hope, need to do more research!) no more susceptible to malware anyway unless an adversary has physical access to to phone via USB connection to a PC…
- at this point, after the process completes, hold down Power and Volume Down with the cable unplugged
- this will boot into fastboot again - note this is a bit trick, wait about two seconds after power on vibrate before letting go
- the Windows app will confirm the successful procedure, then reboot the phone again
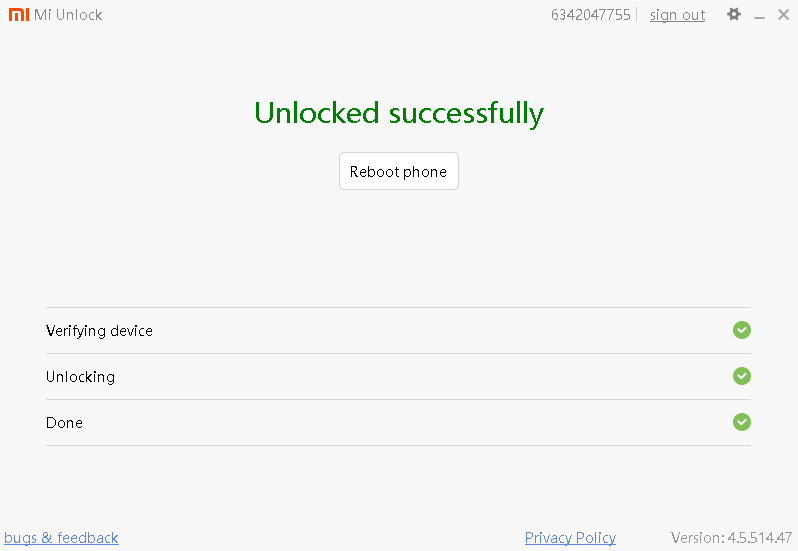
- at this point you will need to progress through the phone user setup again, far enough to go into settings and re-enable developer USB mode again
- we can now use the Android fastload tool to install a new bootloader, TWRP, which we can then use to install LineageOS
(to be continued)
posted in android, embedded, hacking
subscribe via RSS